Blog
Nylon Cable Glands in Automotive Industry
How nylon cable glands are used across automotive wiring, engine compartment routing and EV charging infrastructure, with specifications and selection guidance.
Read More
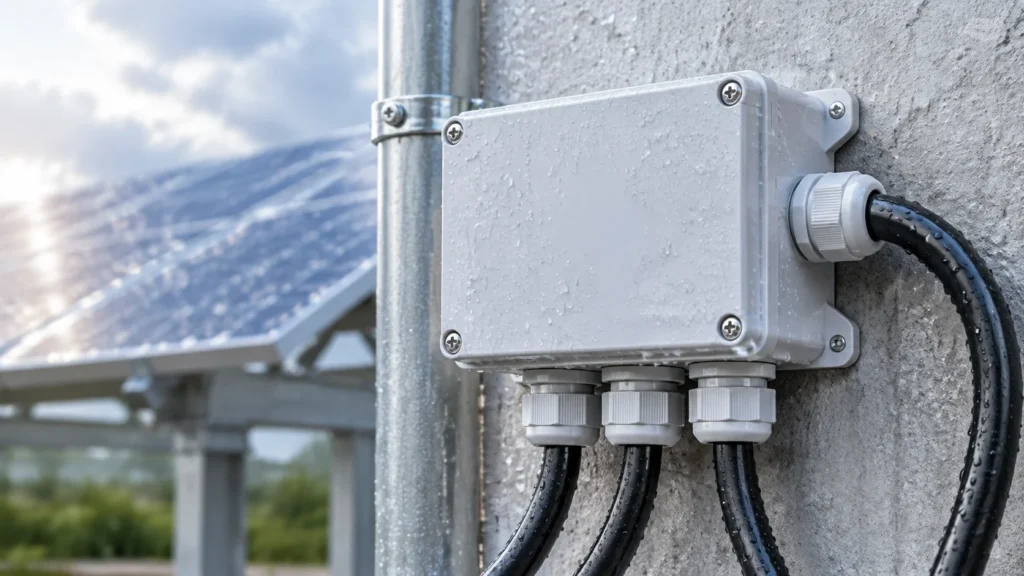
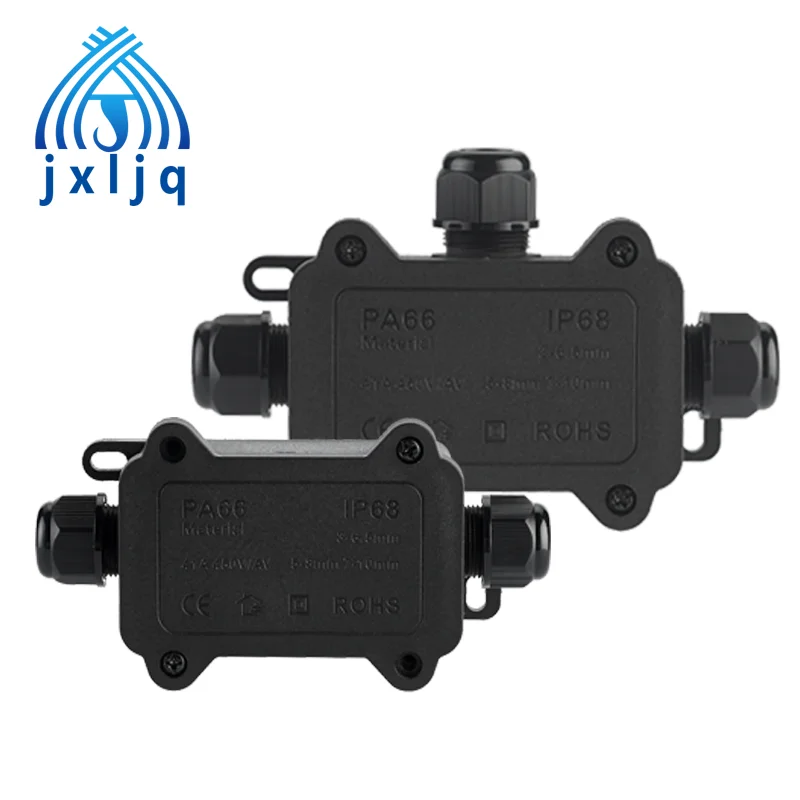
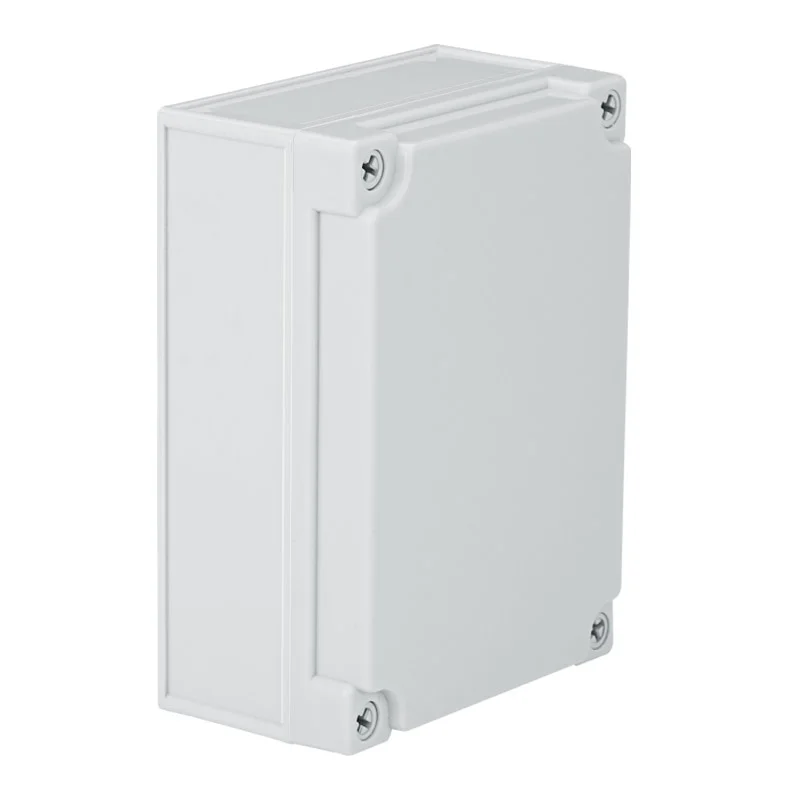
A waterproof junction box stays waterproof only while four independent seals survive the installation. That is the gap in most published answers to how to install waterproof junction box: they cover mounting and wiring, add “tighten the cover evenly” as a closing line, and never say which seal each action protects. The steps below follow a site electrician’s order and name the seal each one protects. Product references come from our own waterproof junction box range: the F1 mini series with moulded entry plugs, the JX-AG enclosures with a flat cover gasket, and the JX-RA bodies with factory-cut outlets.
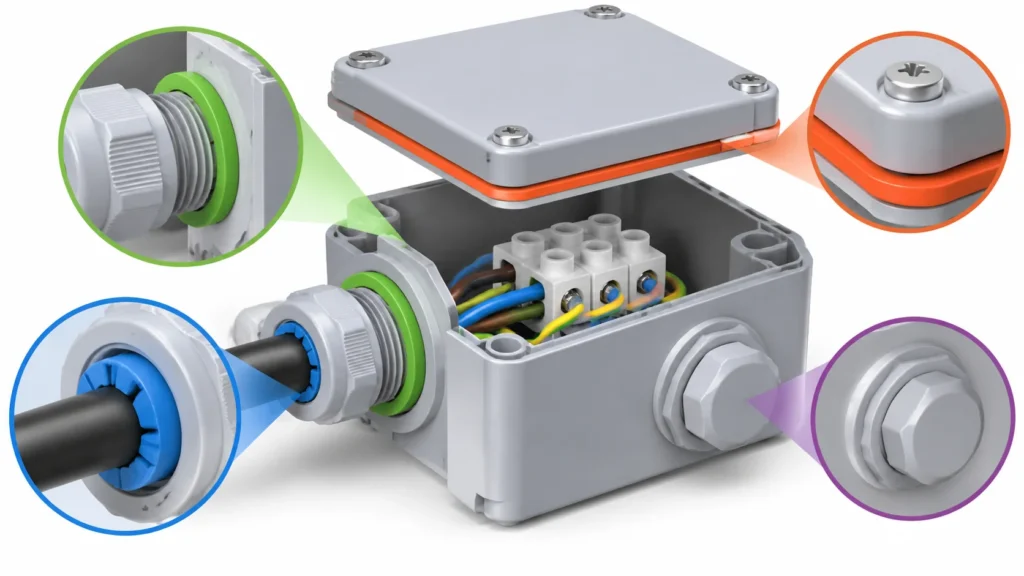
Water does not need to defeat a box. It needs to defeat one joint. Treat the enclosure as four separate barriers:
| Seal | What it separates | Typical failure |
|---|---|---|
| Gland insert to jacket | Cable OD against the sealing insert | Cable outside the gland range |
| Gland body to wall | Thread or nipple against the enclosure | Missing washer, cross-thread |
| Body to cover | Gasket or O-ring against the lid | Gasket pinched or over-compressed |
| Plug to spare opening | Moulded plug or blind grommet | Removed and left open |
Only the first grips the cable. The other three are settled before the cable is pulled, which is why sequence matters more than force.
Decide where every cable enters while the box is still in your hand, not after it is on the wall. Entries belong on the bottom face or the lower part of a side face, never the top. A top entry gives water a straight path along the cable into the insert, and no amount of tightening fixes gravity.
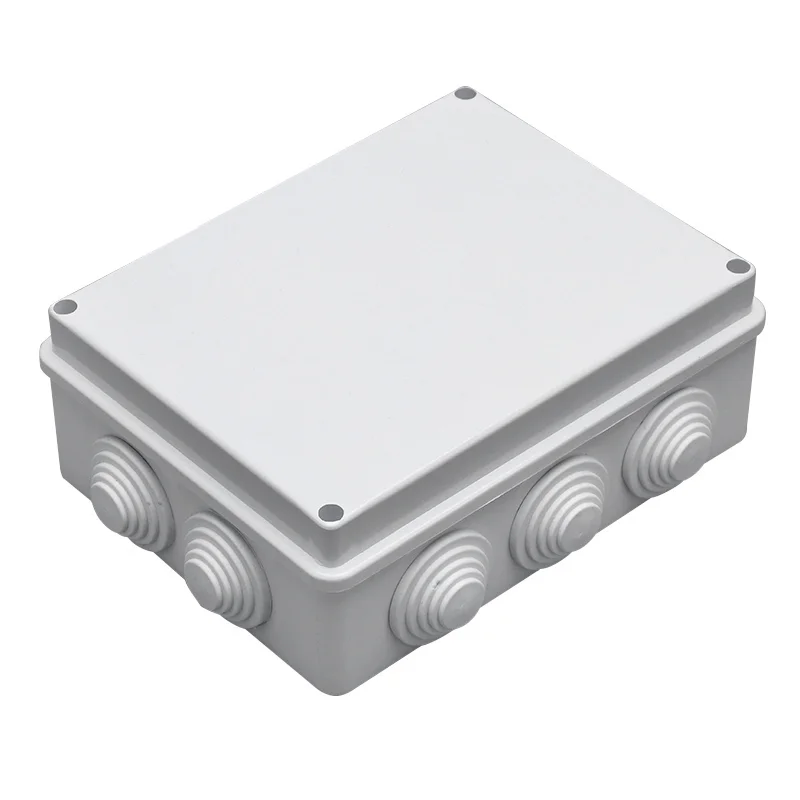
Count the openings you will use. If a five-opening body needs two cables, three openings must be plugged, so confirm the plugs ship with the box. Our guide to junction box cable entries covers when knockouts, membrane grommets and threaded glands each apply; the short version is that a membrane seals against a moulded lip over a narrow cable range, while a threaded gland seals by compression over a wider one.
Fix the enclosure first, on a flat rigid surface, clear of splash. Never let the gland carry the weight of the box and never pull a cable taut to reach a distant fixing point. Tension tilts the sealing insert and opens a crescent gap on one side of the jacket — a leak that looks like a material defect and is not one.
A gasket is a face seal: it needs even contact pressure all round. Mount a flat-gasket enclosure such as the JX-AG series across a render bead or a warped board and one corner will sit high no matter how you tighten.
Glands go into the box first, cable goes through the gland second. The reverse order means dragging a terminated cable through a compressed insert, which scores the jacket and folds the insert lips backwards. Confirm the sealing washer is seated in its groove, the thread engages by hand for two full turns before any tool is used, and the gland sits flush. A cross-threaded gland still feels tight, but never compresses the washer evenly.
Measure the jacket with a caliper, not by guessing from the conductor size. The stated range is overall jacket diameter, and a 3-core 1.5 mm² cable can differ by a full millimetre between suppliers. A cable at the top of a range will not enter; one at the bottom will not compress the insert.
Our F1 mini series shows how ranges are split across a family, and how the number of ways changes the terminal, not just the body:
| Configuration | Order No. and cable range | Terminal |
|---|---|---|
| 2-way | MN-01 3–6.5 · MN-02 5–8 · MN-03 7–10 mm | 0.5–4 mm², 16 A / 450 V |
| 3-way | MH-05 3–6.5 · MH-06 5–8 · MH-07 7–10 mm | 0.5–2.5 mm² |
| 4-way | MN-8 3–6.5 · MN-9 5–8 mm | 0.5–2.5 mm² |
Two consequences follow. The 4-way bodies stop at 8 mm, so a 9 mm jacketed cable needs a 3-way or a 2-way with a larger insert. And the terminal shrinks as the ways increase, so a 4 mm² conductor fits the 2-way but not the 3-way — both visible in the F1-2T/3T/4T ordering table.
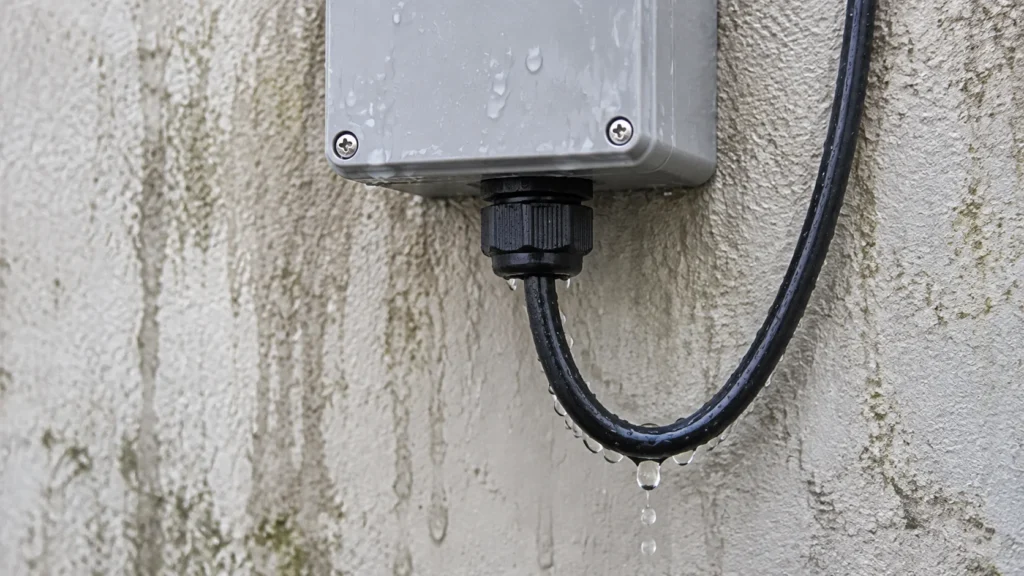
Cut the cable longer than you think you need, then let it fall in a shallow U below the gland before rising into it. That loop is a water break: rain running down the jacket drips off the bottom of the curve instead of travelling into the insert. Leave service slack inside the box as well — conductors under tension creep at the terminal over a few thermal cycles.
Spare openings carry their moulded plug or blind grommet, fitted from outside and seated fully. Tape, silicone and a screwed-up rag are not closures: they do not resist the small pressure changes a sealed box sees daily, and they hide the fact that the opening is open.
This is also where field drilling becomes a decision. On a body like the JX-RA range, outlets can be cut, but a hole cut after the rating was established is not covered by that rating unless the configuration was part of what was tested. Specify the opening at order instead.
Strip to the depth the terminal was designed for and no more. Excess bare conductor outside the clamping zone is a short waiting for a stray strand, and too little means the screw clamps insulation, which relaxes within weeks.
On screw-crimping terminals, one conductor per screw. Doubling two conductors under one screw looks acceptable and is not: the cables compress differently, the screw loses preload, and the joint heats. A ferrule keeps stranded conductors together. Never tin a conductor that goes under a screw terminal — solder cold-flows under sustained clamp load and the joint loosens.
Tighten cover screws diagonally in two passes: snug all four, then final torque across the diagonal. Working clockwise pushes the gasket ahead of the screws and leaves it bunched at the last corner. Compression is what seals a gasket, and a moulded gasket has an optimum at roughly a fifth of its free thickness. More torque does not seal better; it takes a permanent set, and the next time you open the box the gasket no longer springs back. Our guidance on cable gland torque and sealing points applies the same logic to the gland side of the joint.
Then test the right thing. A hose spray proves the box sheds water; it does not prove IPX8, which is a depth and duration declared by the manufacturer, not a fixed test. Two boxes marked IP68 can have been verified at completely different depths, so read the claim rather than the code — the difference is set out in our explanation of IP ratings for junction boxes.
Finally, a sealed box still breathes: daily temperature swings push air past the gasket, and its moisture condenses inside. If the enclosure cycles hard, a breathable vent plug keeps it drier than a tighter lid will.
| What gets done | Seal it breaks | How it shows up |
|---|---|---|
| Silicone smeared on the gland thread | Gland to wall | Sealant cracks and hides a missing washer |
| Gland tightened until the insert bulges | Cable to insert | Insert splits; leak appears months later |
| Cable pulled tight to reach the box | Gland to wall | Crescent gap on one side of the jacket |
| Cover screws run clockwise | Body to cover | Gasket bunched at the last corner |
The sequence is the method: pick the entry side, mount the box, fit the glands, measure the cable, leave a drip loop, plug the spares, terminate once, and close in a cross pattern. Each action belongs to exactly one of the four seals, and none of them is about tightening harder. If you are specifying rather than installing, write the gland range, terminal capacity, thread standard and required IP rating into the purchase order — those four lines prevent most failures above before a box leaves the warehouse.
No. The gasket and gland insert are the sealing elements. Sealant around a thread masks a missing washer, traps water and degrades under UV.
Only with a proper gland or plug fitted, and knowing that a hole cut after the rating was established is not covered by that rating. Specify extra openings at order where possible.
Enough to compress the gasket evenly — a small fraction of its free thickness, not as tight as the screw will go. Tighten diagonally in two passes.
Bottom, always. A top entry turns the cable into a drainpipe, and a drip loop below the gland is the only thing stopping water following the jacket inward.
Condensation, not leakage. A sealed enclosure still exchanges air as it heats and cools, and moisture condenses on cold metal. That is a venting problem, not a gasket problem.
How nylon cable glands are used across automotive wiring, engine compartment routing and EV charging infrastructure, with specifications and selection guidance.
Read More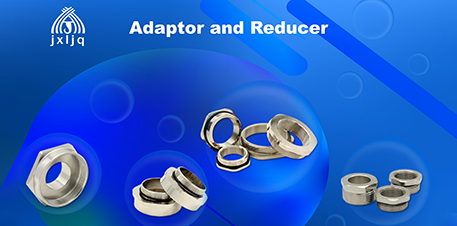
When to use a cable gland adaptor, reducer or enlarger: the difference between them, common thread combinations, and how to keep the IP rating when threads do not match.
Read More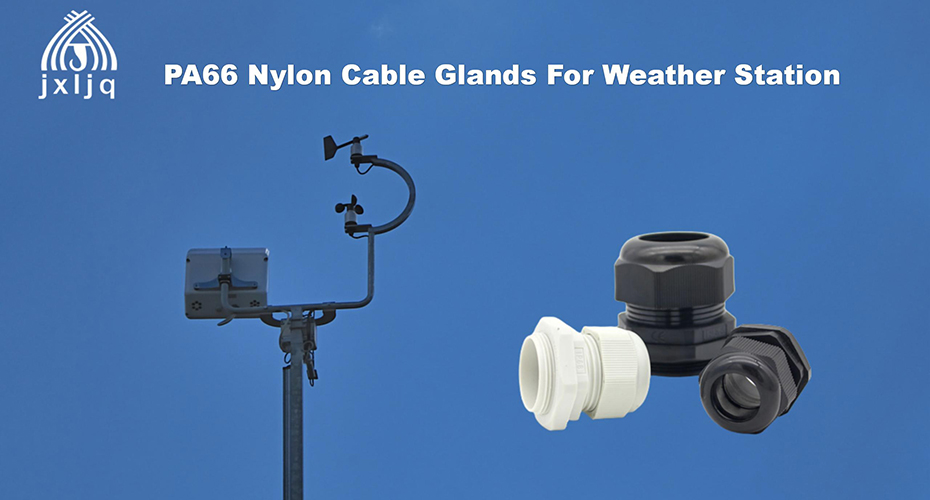
How PA66 nylon cable glands protect weather station sensors, data loggers and control boxes: IP68 sealing, UV and corrosion resistance, and gland selection.
Read More